JVC Car Stereo Owners Manual: A Comprehensive Guide
Welcome! This manual provides detailed instructions for JVC car stereos, including installation, operation, troubleshooting, and support. It covers models like KD-R420J and KD-R421.
JVC has a long-standing reputation for delivering high-quality car audio systems, blending innovative technology with user-friendly design. This manual serves as a comprehensive resource for owners of JVC car stereos, ensuring optimal performance and enjoyment. Whether you’ve recently purchased a KD-R420J, KD-R421E, or another JVC head unit, understanding its features and capabilities is key.
This guide details everything from initial setup and connection procedures to advanced functionalities like Bluetooth pairing and file management (USB/SD). We’ll explore the control panel, audio settings, and radio tuning options, providing clear instructions for both novice and experienced users. Furthermore, we address common issues and offer troubleshooting steps to resolve them efficiently.
JVC stereos often support multiple languages – English, Français, and Español – catering to a diverse customer base. Remember to consult the separate Installation/Connection Manual for detailed wiring diagrams and safety precautions. Proper installation is crucial for optimal sound quality and system longevity. This manual aims to empower you to fully utilize your JVC car stereo.
Understanding Your JVC Head Unit Model
Identifying your specific JVC head unit model is the first step to unlocking its full potential. Models like the KD-R420J, KD-R421E, and KD-R421EU share core features but may have unique functionalities. Locate the model and serial number, typically found on the unit’s top or bottom. This information is vital for accessing specific support resources and downloading relevant documentation.
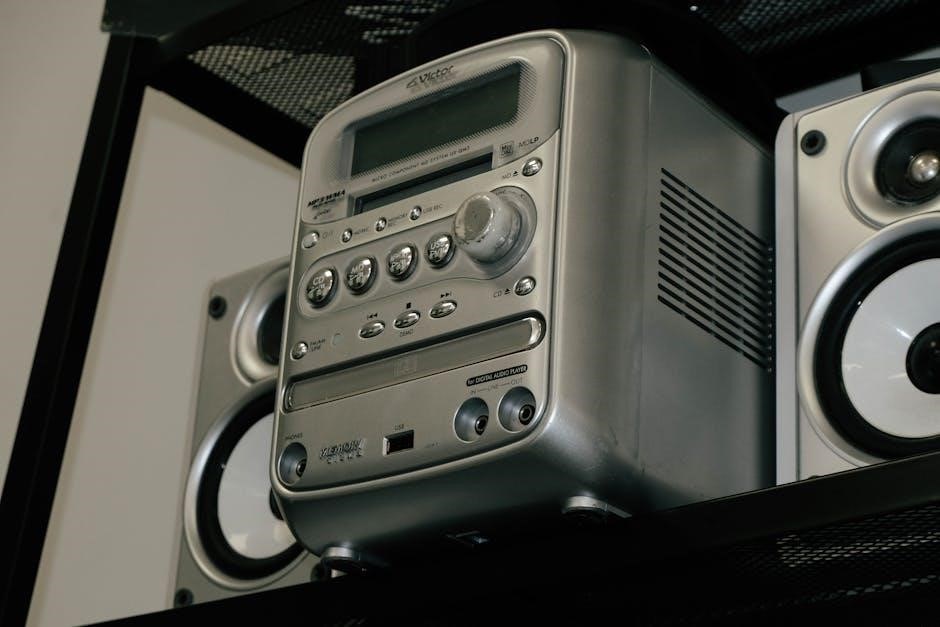
JVC car stereos come in various form factors, including short body and double DIN designs. Understanding your unit’s physical dimensions is crucial for proper installation. Refer to the Installation/Connection Manual (separate volume) for detailed diagrams and wiring instructions tailored to your model.
Familiarize yourself with the front panel layout, including buttons, knobs, and display indicators. Many JVC units support Bluetooth connectivity, USB/SD card playback, and external component connections. Knowing these capabilities will enhance your in-car entertainment experience. Always prioritize safety during installation and operation, following all provided precautions.
KD-R420J/KD-R421 Series: Specific Features
The KD-R420J and KD-R421 series offer a blend of convenience and performance. These models typically feature robust Bluetooth capabilities for hands-free calling and wireless audio streaming. USB and SD card slots allow for direct playback of digital music files. The units support various audio formats, ensuring compatibility with your music library.
A key feature is the ability to connect external components, expanding your entertainment options. Refer to the separate Connection Manual for detailed wiring diagrams and setup instructions. These head units often include advanced audio settings, allowing you to customize the sound to your preferences.
Safety is paramount; avoid operating the unit while driving or downloading/deleting files. The control panel should not be detached during vehicle operation. These JVC stereos are designed for easy integration into most vehicles, but professional installation is recommended for optimal results and speaker compatibility.
Locating the Service Manual & Schematics
Service manuals and schematics for JVC KD-R420J, KD-R421E, KD-R421EU, and KD-R421EY models are crucial for advanced troubleshooting and repair. These documents, often in PDF format, detail the internal workings of the unit, component layouts, and wiring diagrams.
Resources like manualsbase and archive.org host these files, offering free downloads. Specifically, schematics like GEA10232ab and MA398sch are available for detailed circuit analysis. JVC’s official website (http://www.jvc.net/cs/car/eudoc/) may also provide access to documentation.
The Jvc-RX-416-VBK service manual provides insights into related JVC products. These manuals often include sections like P1-33 and P1-34, detailing specific functionalities. Remember to consult the separate Installation/Connection Manual for wiring and setup information. Multilingual support, including Français and Español, is often included in these resources.
GEA10232ab & MA398sch Schematics Explained
The GEA10232ab and MA398sch schematics are essential for understanding the intricate electronic structure of JVC KD-R420J series car stereos. These diagrams illustrate the connections between components, aiding in diagnosing and repairing malfunctions. They detail the power supply, audio amplifier, tuner, and CD player sections.
Analyzing these schematics requires a foundational understanding of electronics. Key elements include identifying resistors, capacitors, integrated circuits, and their roles within the system. The schematics pinpoint signal pathways, allowing technicians to trace issues from input to output.
Understanding these diagrams is vital for tasks like replacing damaged components or modifying the unit. They are often referenced alongside the service manual, providing a comprehensive guide to the stereo’s internal workings. Remember to always prioritize safety when working with electronic devices and consult the separate connection manual for wiring details.

Installation & Connection
Proper installation requires careful wiring and secure mounting. Refer to the separate installation/connection manual for detailed instructions and diagrams for optimal performance.
Typical Installation Procedures
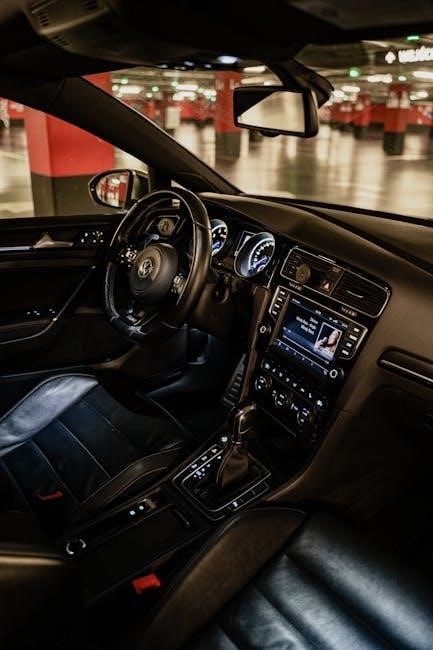
Before you begin, disconnect the vehicle’s negative battery terminal to prevent short circuits. Carefully remove the existing car stereo, noting the wiring connections. Utilize the provided mounting brackets to securely install the JVC head unit into the dashboard opening.
Connect the wiring harness, matching wire colors for power, ground, speakers, and antenna. A separate volume control manual details specific wiring for external components. Ensure all connections are firm and insulated to avoid interference.
Re-connect the battery and test the system. Verify power, speaker functionality, and radio reception. If installing additional components like amplifiers or subwoofers, consult the separate installation guides for those devices. Always prioritize safety and follow vehicle-specific instructions. Proper grounding is crucial for optimal performance and to prevent noise. Double-check all connections before fully reassembling the dashboard.
Connection Manual: Separate Volume Details
For systems utilizing a separate volume control, careful wiring is essential. The JVC connection manual (separate volume) provides detailed diagrams illustrating the correct connections for remote volume controllers. This setup allows for centralized volume adjustment, often used in marine or larger vehicle applications.
Ensure proper polarity when connecting the volume control wires. Incorrect wiring can result in distorted audio or a non-functional system. Typically, these systems involve a multi-wire connection between the head unit and the remote volume module, then onward to the amplifier.
Refer to the schematic diagrams within the separate manual for precise wire color coding and connection points. Before operating any external component, verify all connections. Do not attempt to adjust the volume on the head unit itself when a separate controller is in use. This can cause imbalances or damage. Always consult a professional installer if unsure.
Bluetooth Pairing & Functionality
JVC car stereos offer seamless Bluetooth connectivity for wireless audio streaming and hands-free calling. To initiate pairing, access the Bluetooth settings within the head unit’s menu. Ensure your smartphone or device is in discovery mode. The stereo will scan for available devices, displaying a list on the screen.
Select your device from the list and enter the PIN code (typically “0000” if prompted). Once paired, your device will automatically reconnect upon entering the vehicle. Bluetooth functionality includes audio playback, track control, and call answering/ending via the head unit.
Some models support multiple device pairing, allowing you to switch between sources. Refer to your specific model’s manual for detailed instructions on managing paired devices. Avoid downloading or deleting files while actively using Bluetooth to prevent interruptions. Ensure a stable connection for optimal performance.
External Component Connections
JVC car stereos offer versatile connectivity for external components, enhancing your in-car entertainment experience. Refer to the separate Installation/Connection Manual for detailed diagrams and instructions. Typically, you’ll find RCA pre-outs for connecting amplifiers and subwoofers, allowing for expanded audio systems.
Auxiliary inputs (AUX) enable connection of external audio devices like MP3 players or smartphones via a 3.5mm cable. USB ports facilitate direct connection of USB drives for music playback. Some models also support SD card slots for additional storage options.
When connecting external components, ensure proper wiring and secure connections to avoid interference or damage. Consult the separate volume connection manual for specific details regarding separate volume control. Always disconnect the vehicle’s power before making any connections or disconnections.

Operation & Features
Explore the full potential of your JVC stereo! This section details basic controls, USB/SD file management, audio adjustments, radio functions, and CD player usage.
Basic Operation & Control Panel Functions
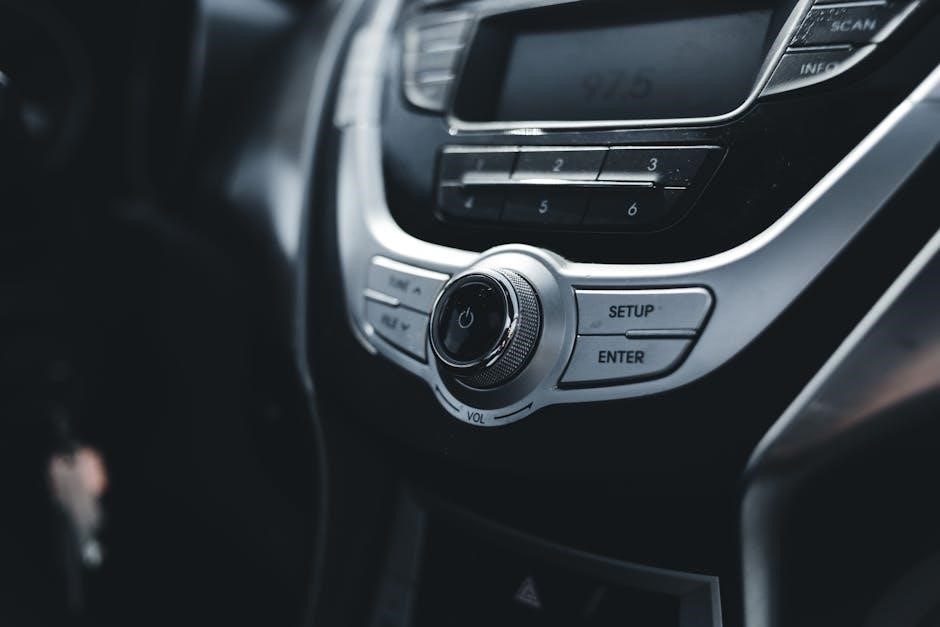
Getting Started: Your JVC head unit is designed for intuitive operation. The control panel provides access to all essential functions. Begin by pressing the power button to activate the system. Volume adjustment is straightforward using the rotary volume knob, ensuring precise audio levels.
Source Selection: Easily switch between available sources – Radio, USB, SD card, Bluetooth, or CD – using the dedicated source button. Repeated presses cycle through the options. The display clearly indicates the currently selected source.
Menu Navigation: Access advanced settings and customization options through the menu button. Utilize the directional buttons (up, down, left, right) to navigate the menu structure. Confirm selections with the enter/select button.
Important Note: Avoid operating the control panel while driving. Prioritize safety and pull over to a safe location before making adjustments. Do not detach the control panel during operation, as this may disrupt functionality.
Control Panel Safety: Always ensure the control panel is securely connected. Refer to the Installation/Connection Manual for detailed guidance on proper panel installation and usage.

Downloading & Deleting Files (USB/SD)
File Transfer: Your JVC stereo supports audio playback from USB drives and SD cards. Simply connect a compatible device to the designated port. The unit will automatically detect the connected storage.
File Compatibility: Ensure your audio files are in a supported format (MP3, WMA, WAV, etc.) for seamless playback. The system may not recognize files in unsupported formats.
Downloading (Copying): While the unit doesn’t “download” from external sources, you can copy files to a connected USB drive or SD card from a computer. This is done externally, not through the head unit itself.
Deleting Files: To delete files directly from the unit, navigate to the file selection screen. Select the desired file and choose the delete option. Confirm your selection to permanently remove the file.
Safety First: Do not attempt to download or delete files while driving. Always park in a safe location before accessing these functions. Avoid detaching the storage device during file operations.
Volume Control & Audio Settings
Volume Adjustment: The volume is primarily controlled via the rotary knob or dedicated buttons on the control panel. Precise adjustments ensure optimal listening levels.
Audio Presets: JVC stereos offer a range of preset audio settings (Rock, Pop, Classic, Jazz, etc.) to enhance the listening experience based on your preferred music genre. Experiment to find the best fit.
Equalizer (EQ): Customize the sound further with the built-in equalizer. Adjust bass, mid, and treble frequencies to tailor the audio to your liking. Some models offer graphic EQ for more granular control.
Loudness: The loudness function boosts bass and treble at low volumes, improving sound clarity. Use with caution, as excessive loudness can distort the audio.
Balance & Fader: Adjust the balance to favor the left or right speakers, and the fader to shift sound between the front and rear speakers. This optimizes sound staging within your vehicle.
Radio Tuning & Presets
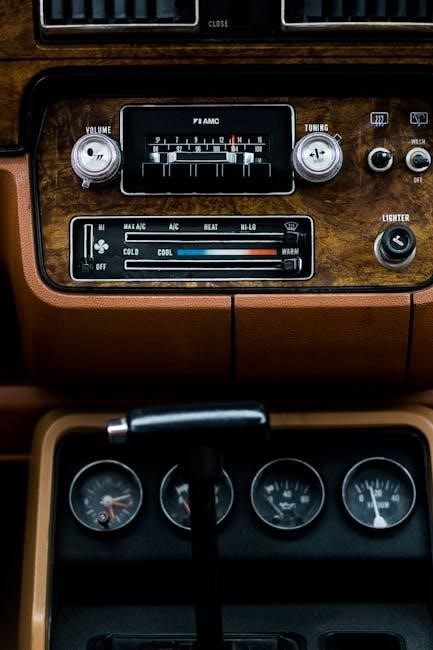
Tuning Methods: JVC car stereos offer several radio tuning methods, including manual search, auto-scan, and preset recall. Utilize auto-scan for quick station discovery.
Preset Stations: Store your favorite radio stations into preset memory locations for instant access. The number of available presets varies by model, typically ranging from 18 to 30.
Preset Storage: To store a station, tune to the desired frequency and press and hold a preset button until the unit confirms storage. Overwrite existing presets as needed.
Seek Tuning: Employ the seek function to quickly jump to the next available station. Adjust seek sensitivity in the settings menu for localized or distant station preferences.
RDS (Radio Data System): If supported, RDS displays station names, program types, and other information broadcast by the station. Ensure RDS is enabled in the settings.
CD Player Operation
Disc Compatibility: JVC CD players support standard audio CDs, including CD-R and CD-RW discs. Ensure discs are finalized after burning to guarantee compatibility.
Loading & Ejecting: Insert a disc into the CD slot, and the unit will automatically load it. Press the eject button to remove the disc. Avoid forcing the disc into the slot.
Playback Controls: Utilize the standard playback controls – play/pause, stop, fast forward, rewind, and skip – to navigate your CD tracks. Some models offer shuffle and repeat functions.
CD Text Display: If the CD supports CD Text, the unit will display track names and artist information. This feature enhances the listening experience.
Error Handling: In case of a disc error, the unit will display an error message. Try cleaning the disc or using a different disc. Avoid using damaged or scratched discs.

Troubleshooting & Support
Facing issues? This section offers solutions to common problems, safety precautions for installation, and details on accessing JVC customer support and authorized dealers.
Common Issues & Solutions
No Power: Verify the fuse, check all wiring connections (power, ground, and ignition), and ensure the unit is properly grounded to the vehicle chassis. A loose connection is often the culprit.
No Sound: Confirm the volume isn’t muted and speaker wires are securely connected to both the head unit and speakers. Test speakers with another audio source to rule out speaker failure. Check the fader/balance settings.
Bluetooth Pairing Problems: Ensure Bluetooth is enabled on both the stereo and your device. Delete previous pairings and attempt to re-pair. Keep devices within range during pairing. Reset the stereo if issues persist.
USB/SD Card Issues: Verify the file format is compatible (MP3, WMA, WAV, etc.). Try a different USB drive or SD card. Avoid using excessively large capacity storage devices. Do not detach during file operations.
Radio Reception Poor: Check the antenna connection and ensure it’s fully extended. Try a different antenna. Interference from other electronic devices can also affect reception.
Control Panel Issues: If the control panel isn’t responding, try resetting the unit. Refer to the installation/connection manual for specific reset procedures.
Safety Precautions During Installation
Disconnect Battery: Always disconnect the vehicle’s negative battery terminal before beginning installation to prevent short circuits and potential electrical shock. This is paramount for safety.

Wiring Hazards: Exercise extreme caution when routing wires. Avoid sharp edges, moving parts, and hot surfaces like the exhaust manifold. Secure wires properly to prevent damage or interference.
Professional Installation: If you are uncomfortable with automotive electrical work, seek professional installation from a qualified technician. Improper installation can damage the unit or vehicle.
Grounding: Ensure a solid ground connection to the vehicle chassis. A poor ground can cause noise, malfunction, or damage to the stereo. Use the provided grounding wire and a clean metal surface.
Component Placement: Position the head unit and other components securely to prevent them from moving during vehicle operation. Avoid obstructing airbags or safety features.
Read Manuals: Thoroughly read both the JVC stereo’s manual and the vehicle’s owner’s manual before starting installation. Understand all warnings and instructions.
Customer Support & Dealer Information
JVC Customer Support: For assistance with your JVC car stereo, visit the official JVC website at http://www.jvc.net/cs/car/eudoc/. Here you’ll find FAQs, troubleshooting guides, and downloadable manuals in multiple languages – including English, Français, and Español.
Dealer Locator: To locate an authorized JVC dealer near you for professional installation or service, use the dealer locator tool on the JVC website. They can provide expert advice and support.
Technical Assistance: If you require more in-depth technical assistance, contact JVC customer support directly via phone or email. Details are available on their website’s support section.
Installation Kits: For information regarding compatible installation kits, consult your local JVC IN-CAR ENTERTAINMENT dealer or a specialized automotive accessory supplier. Ensure proper fit and functionality.
Warranty Information: Refer to your warranty card or the JVC website for details regarding the warranty coverage for your specific car stereo model. Keep your proof of purchase safe.
Multi-Language Support (English, Français, Español)
Global Accessibility: JVC prioritizes accessibility for all users. This commitment is reflected in the availability of documentation and support materials in multiple languages, including English, Français (French), and Español (Spanish).
Downloadable Manuals: Comprehensive owner’s manuals are readily available for download from the official JVC website (http://www.jvc.net/cs/car/eudoc/) in all three supported languages. Select your preferred language to access the appropriate version.
Instruction Manuals: The instruction manuals, identified as GET0071-001B, provide detailed guidance on operation, features, and troubleshooting. They are designed for ease of understanding regardless of your native language.
Compliance Declarations: JVCKENWOOD declares that its KD-X252/KD-X152/KD-X151 equipment complies with relevant directives, as documented in multi-lingual declarations available online.
International Support: JVC’s global network ensures that support resources are available to customers worldwide, catering to diverse linguistic needs and preferences.
Speaker Compatibility & Installation Kits

Optimal Audio Performance: Achieving the best sound quality from your JVC car stereo requires compatible speakers and a proper installation. JVC stereos are designed to work with a wide range of speaker sizes, including 6×9, 6×8, 17cm, 16cm, 13cm, and 10cm options.
Installation Considerations: For seamless integration, especially when replacing factory speakers, dedicated installation kits are often necessary. These kits ensure a secure fit and proper electrical connections.
Dealer Assistance: JVC recommends consulting with an authorized JVC IN-CAR ENTERTAINMENT dealer or a specialized car audio supplier to determine the correct installation kit for your vehicle and speaker selection.
Professional Installation: If you are unsure about the installation process, professional installation is highly recommended. Incorrect installation can lead to poor sound quality or damage to your vehicle’s electrical system.
Subwoofer Integration: For enhanced bass response, consider adding a car subwoofer. Proper wiring and impedance matching are crucial for optimal performance and safety.